
Hang It Like You Mean It: A Real-World Guide to Acrylic Wall Art (With Fewer Headaches)
So you’ve just unboxed your new acrylic print. Maybe the colors are even more intense than you’d expected, or perhaps you’re just a little nervous to actually put holes in your wall. You’re not alone! Most people—myself included—have at least once stood with a hammer in one hand, artwork in the other, and a growing suspicion that there’s probably a better way.
Let’s take the mystery (and maybe some of the stress) out of getting your wall art where it belongs: front and center, looking sharp, and securely anchored.
What’s in the Box? The Hardware Rundown
Before anything else, take a moment to check what came with your acrylic print. With most modern acrylic wall art—especially our Colorful Collection—there’s a good chance you’ll find a hardware kit tucked into the packaging. Typically, you’ll see:
- Sturdy screws (usually four, one for each corner)
- Pre-drilled holes on the acrylic itself
- Attractive screw caps that hide the hardware
- Wall anchors (for plaster, drywall, or brick)
It might seem like a lot of little parts, but each has its purpose. While some may claim you can get away with using basic nails, experience suggests that following the kit instructions is the safest bet. Acrylic, while tough, really shines when properly supported—literally and figuratively.
Tip: Double-check for protective film on both sides of the acrylic before you start. It’s surprisingly easy to miss and leaves your print looking cloudy.
Tools You’ll (Probably) Want Handy
If you’re a seasoned DIYer, you might already have everything you need. For the rest of us, here’s a short list that covers most situations:
- A tape measure and a level (laser levels are awesome, but not required)
- A power drill or screwdriver
- Pencil or painter’s tape for marking spots
- Stud finder (nice, but not essential)
- A friend (for holding things steady, offering moral support, or keeping the cat away from the screws)
Even pros make small errors, so don’t beat yourself up if you have to remeasure or adjust. It happens!
Mapping It Out: Finding the Perfect Spot
There’s no universal “best” spot for acrylic art, though some general ideas have proven helpful:
- Eye Level is the gold standard for most wall art. That’s roughly 57–60 inches from the floor to the center of your print.
- Above the Sofa or Bed: Leave at least 6–10 inches between the bottom of the art and the top of the furniture.
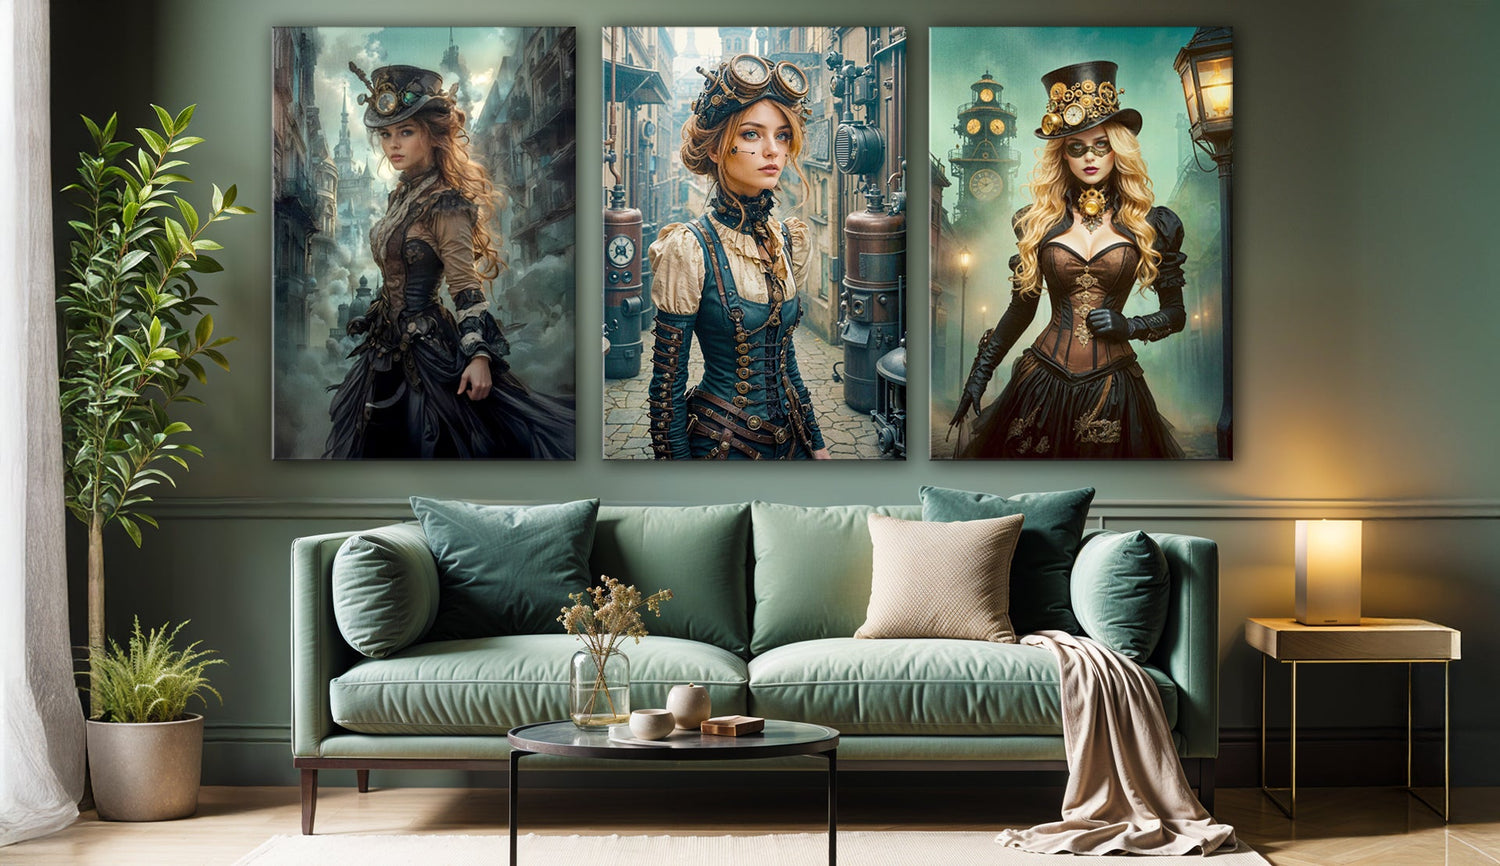
- Gallery Walls: If you’re adding to a larger group, try laying everything out on the floor first, or use paper cutouts taped to the wall.
Is there one right answer? Hardly. Some interior designers swear by tight groupings, while others love oversized, dramatic prints all on their own. You might find yourself rethinking the layout after seeing how sunlight hits the acrylic throughout the day. In my experience, experimenting is part of the fun.

Safety First (Because Gravity Has Opinions)
Acrylic wall art is lighter than glass but heavier than canvas. Hanging it properly means you’re less likely to wake up to a crash in the middle of the night (something I suspect we all want to avoid).
- For drywall: Use the included anchors. It’s tempting to skip them, but you’ll regret it if things come loose.
- For brick or concrete: Masonry anchors will do the trick, but drilling takes a bit more patience.
- For wood studs: Screws go right in—just make sure you’re actually hitting a stud.
If you’re not sure about your wall type, give it a gentle knock or consult a neighbor who loves home improvement projects.
Final Touches: The Big Reveal
Peel away any protective film (this is oddly satisfying), pop on the screw caps, and step back. Odds are, the room feels instantly upgraded—acrylic tends to have that effect, catching the light and adding dimension you just can’t get from paper prints.
If things look slightly off, don’t panic. It’s possible that shifting the art an inch or two might make all the difference. It’s your space—tweak until it feels right.
Ready to Hang Your Art Like a Pro?
Hanging acrylic wall art might seem intimidating, but you’re likely to find it’s easier than expected, especially with the right kit and a little patience. There’s no one “perfect” method, only what works best for your walls and your taste.
So, take a breath, gather your tools, and give your walls the color and personality they deserve. Our collection was designed for real homes—yours included.
Want more inspiration or hardware tips? Browse our Colorful Collection or reach out—let’s make your home decor dreams a reality.


