
Hang with Confidence: Included Hanging Kits and Easy Mounting Tips for Canvas Wall Art
There’s something oddly satisfying about getting the final detail just right.
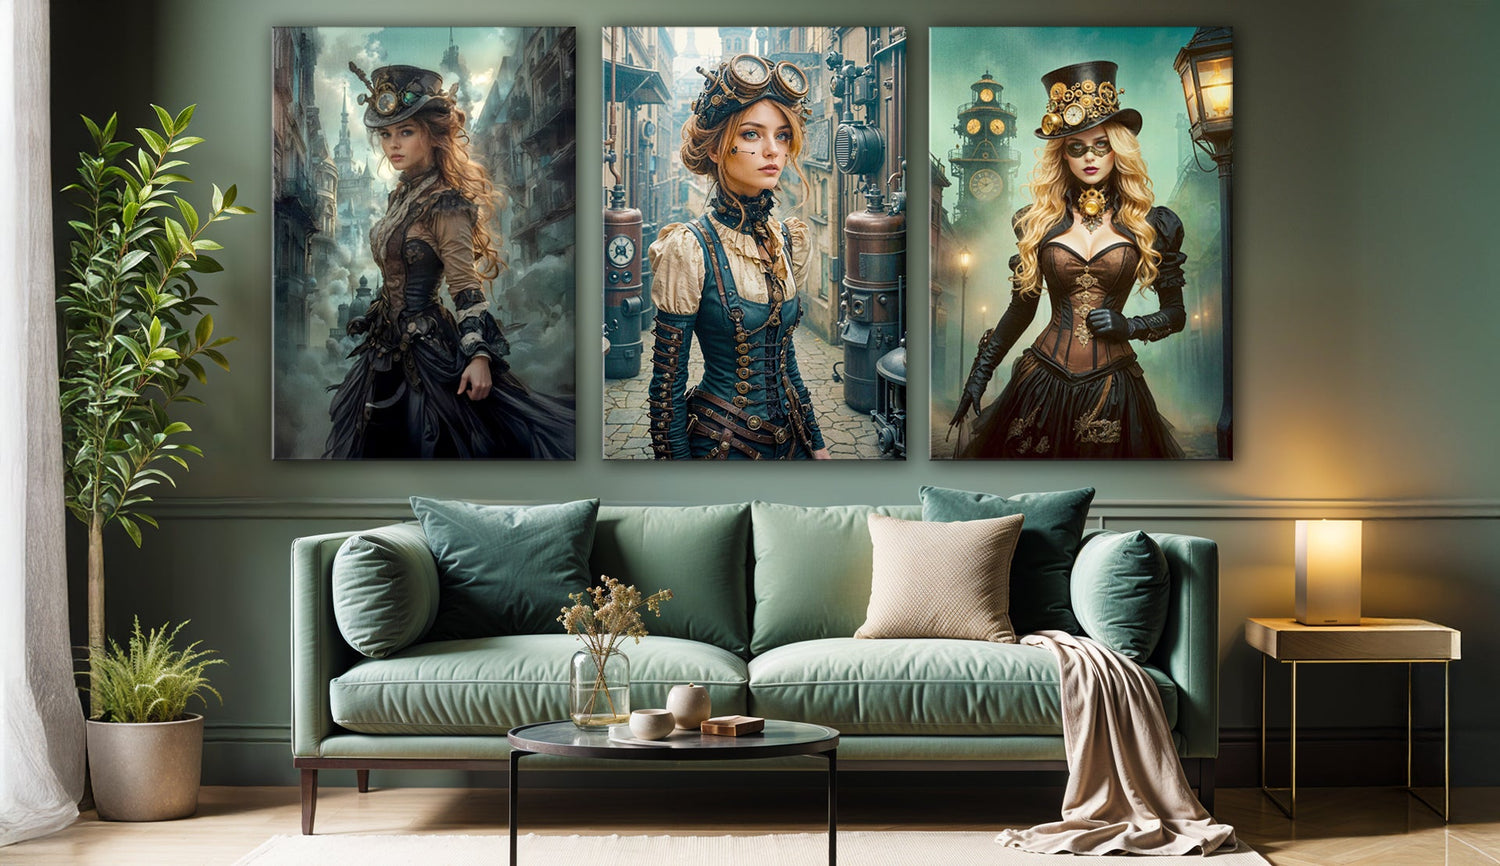
That moment when your new Geisha-Samurai Canvas Wall Art finally meets your wall—centered, level, and secure—can feel like the final brushstroke on a masterpiece. But getting there? It’s not always obvious.
Whether you’re a seasoned DIY enthusiast or someone who usually calls for backup when a drill is involved, this guide is for you. We’re breaking down exactly what’s included in our hanging kits and offering thoughtful, flexible advice on how to mount your geisha canvas wall art like a pro—without second-guessing every step.
What’s Inside the Kit?
Every canvas in our unframed wall art prints collection comes with a complimentary hanging kit. These are tailored to your region and wall type but commonly include:
- Metal tabs or sawtooth hangers – pre-attached to the back of your canvas frame.
- Mounting screws or nails – for drywall, wood, or plaster.
- Wall plugs/anchors – in case you’re mounting into harder surfaces like brick or concrete.
- Mini-level (select regions) – to help you avoid the dreaded crooked tilt.
- Simple visual guide – no 12-step manuals; just practical diagrams.
These kits are designed to streamline the process. Still, depending on your space and preferences, you might consider using a drill, hammer, or picture-hanging strips for a custom solution.
Step One: Decide on Placement First, Not Last
It’s tempting to start hammering as soon as the canvas arrives. But the real artistry starts with placement.
Think about natural sightlines, light sources, and the story you want your piece to tell. Geisha wall art, for example, creates vastly different moods when hung over a bed versus beside a hallway mirror.
A few things to keep in mind:
- Eye-level isn’t universal. In a hallway, you may want a slightly higher placement; over a sofa, slightly lower.
- Leave breathing room. Try at least 6–8 inches of space from furniture edges.
- Groupings need balance. For multi-canvas displays, lay everything out on the floor first to explore compositions.

Mounting Best Practices
Once your location is set, here’s how to hang with confidence:
- Use the hardware provided. It’s matched to the canvas weight and design. Avoid defaulting to a random nail from your drawer.
- Mark before you drill. Lightly pencil your anchor points—using the level, if included, to check alignment.
- If unsure, anchor. Especially in older buildings or drywall-heavy spaces, a simple wall plug can make all the difference.
- Go slow. Drill or tap gently, especially near plaster or tile.
- Double-check your height. View the position from multiple angles before committing.
Not everyone will follow these steps rigidly, and that’s okay. Your home isn’t a gallery—it’s a lived-in canvas in itself.
A Detail That Speaks to Craft
Behind every elegant samurai wall art or modern Japanese decor piece is not just a story but structure.
These small decisions—where it hangs, how it’s mounted, what tools were chosen—become part of your home’s atmosphere. Mounting a canvas isn’t just a task; it’s a small ritual of intention. You’re claiming space for beauty. For symbolism. For stillness, or strength, or memory.
And that, too, is art.
Hang with confidence
So if you’ve been hesitating—unsure whether you need a power drill, a partner, or a whole toolbox—know this: our system is designed to empower, not intimidate.
Every canvas art wall decor print arrives ready for your wall. The rest? A few minutes. A few breaths. A touch of alignment. And just like that—your space is transformed.
Explore the collection, and let each piece find its perfect place.


